不使用Handler,通过按钮更新UI视图
敲敲打打,就开始写程序。然后发现程序崩溃!是的,然后又开始了百度之路。
解决思路
划重点:在android4.0 之后,谷歌已经禁止在主线程中访问网络,所以需要单开一个线程去访问网络
划重点:Android规定仅仅能在主线程中更新UI。
故而结合上面两点,我们就知道了大致的思路,开一个子线程访问网络,然后使用Handler机制传递消息到主线程,然后在主线程中更新UI。
按照这个思路,结合上面的两个博客地址链接,我们可以写出自己的程序案例。
案例一:使用Button按钮点击加载图片
布局文件:
<ImageView
    android:layout_width="match_parent"
    android:layout_height="wrap_content"
    android:id="@+id/image"
/>
<Button
    android:layout_width="match_parent"
    android:layout_height="wrap_content"
    android:text="下载本图片"
    android:id="@+id/btn"
/>
MainActivity.java
package com.weizu.intent;

import java.io.IOException;
import java.io.InputStream;
import java.net.HttpURLConnection;
import java.net.MalformedURLException;
import java.net.ProtocolException;
import java.net.URL;
import android.app.Activity;
import android.graphics.Bitmap;
import android.graphics.BitmapFactory;
import android.os.Bundle;
import android.os.Handler;
import android.os.Message;
import android.view.View;
import android.widget.Button;
import android.widget.ImageView;

public class MainActivity extends Activity{
    private Button btn;
    private ImageView img;
    private Handler handler ;
    @Override
    protected void onCreate(Bundle savedInstanceState) {
        super.onCreate(savedInstanceState);
        setContentView(R.layout.activity_main);

        img = (ImageView)findViewById(R.id.image);

        btn = (Button)findViewById(R.id.btn);
        handler = new Handler(){
            @Override
            public void handleMessage(Message msg) {
                if(msg.what==1){
                    Bitmap bitmap = (Bitmap) msg.obj;
                    img.setImageBitmap(bitmap);
                }
            }
        };
        btn.setOnClickListener(new View.OnClickListener(){
            @Override
            public void onClick(View arg0) {
                new Thread(new Runnable(){

                    @Override
                    public void run() {
                        try {
                            URL url = new URL("http://pics.sc.chinaz.com/files/pic/pic9/201811/bpic9300.jpg");
                            HttpURLConnection conn = (HttpURLConnection) url.openConnection();
                            //设置提交方式
                            conn.setRequestMethod("GET");
                            //设置最大读取时间
                            conn.setConnectTimeout(5000);
                            //得到状态码
                            if(conn.getResponseCode()==200)
                            {
                                //拿到输入流
                                InputStream in = conn.getInputStream();
                                Bitmap bitmap = BitmapFactory.decodeStream(in);
                                //利用handler给主线程发送消息,更新imageView
                                Message msg = Message.obtain();
                                msg.what = 1;
                                msg.obj = bitmap;
                                handler.sendMessage(msg);
                            }
                        } catch (MalformedURLException e) {
                            e.printStackTrace();
                        } catch (ProtocolException e) {
                            e.printStackTrace();
                        } catch (IOException e) {
                            e.printStackTrace();
                        }
                    }
                }).start();
            }
        });

    }
}
添加网络访问权限:
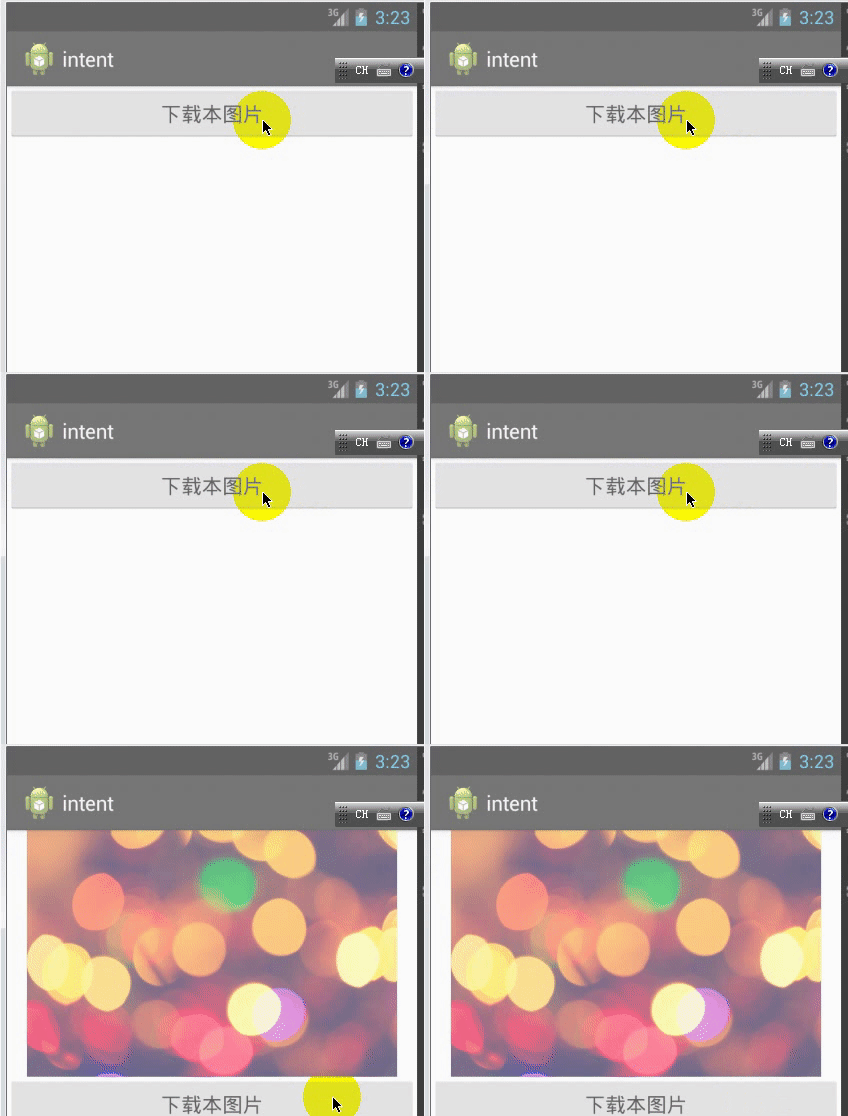
<uses-permission android:name="android.permission.INTERNET"/>效果展示:
案例二:使用复写ImageView来直接加载图片
不难看出,上面的案例需要点击按钮来触发图片的加载工作,但是实际中却经常是一启动就加载图片到ImageView上。可能会有这样的一种思路就是将图片加载的代码放入到OnCreate函数中,然后就可以直接加载。毫无疑问,这样是可以实现的,但是代码在OnCreate中太冗余了,不好看,我们尽量提供一种逻辑,在找到ImageView按钮,然后设置图片的地址,就可以显示图片。
布局文件,这里就不要按钮了,直接加载图片。
<com.weizu.intent.MyImageView
    android:layout_width="match_parent"
       android:layout_height="wrap_content"
       android:id="@+id/image"
    />
写法也是自己写的MyImageView的类做标签名。下面就看看这个类是如何定义的:
package com.weizu.intent;

import java.io.InputStream;
import java.net.HttpURLConnection;
import java.net.URL;

import android.content.Context;
import android.graphics.Bitmap;
import android.graphics.BitmapFactory;
import android.os.Handler;
import android.os.Message;
import android.util.AttributeSet;
import android.widget.ImageView;
import android.widget.Toast;

public class MyImageView extends ImageView {

    private Handler handler = new Handler(){
        @Override
        public void handleMessage(Message msg) {
            super.handleMessage(msg);
            if(msg.what == 1){
                Bitmap bp = (Bitmap)msg.obj;
                MyImageView.this.setImageBitmap(bp);
            }else{
                Toast.makeText(getContext(), "获取失败", 20).show();
            }
        }
    };
    //这三个构造函数是必须复写的,快捷生成:Source->override/Implements Methods
    public MyImageView(Context context) {
        super(context);
    }
    public MyImageView(Context context, AttributeSet attrs, int defStyle) {
        super(context, attrs, defStyle);
    }
    public MyImageView(Context context, AttributeSet attrs) {
        super(context, attrs);
    }

    public void setImageURL(final String path){
        //子线程中完成联网获取数据的操作。
        new Thread(new Runnable(){
            @Override
            public void run() {
                try {
                    URL url = new URL(path);
                    HttpURLConnection connection = (HttpURLConnection)url.openConnection();
                    connection.setRequestMethod("GET");
                    if(connection.getResponseCode()==HttpURLConnection.HTTP_OK){
                        InputStream in = connection.getInputStream();
                        Bitmap bp = BitmapFactory.decodeStream(in);
                        //发送消息给主线程,以更新UI
                        Message message = Message.obtain();
                        message.what = 1;
                        message.obj = bp;
                        handler.sendMessage(message);
                    }
                } catch (Exception e) {
                    handler.sendEmptyMessage(2);
                }
            }
        }).start();
    }

}
然后是MainActivity.java中,调用设置图片地址的自定义函数:
package com.weizu.intent;

import android.app.Activity;
import android.os.Bundle;

public class MainActivity extends Activity{
    private MyImageView img;
    @Override
    protected void onCreate(Bundle savedInstanceState) {
        super.onCreate(savedInstanceState);
        setContentView(R.layout.activity_main);

        img = (MyImageView)findViewById(R.id.image);
        img.setImageURL("http://pics.sc.chinaz.com/files/pic/pic9/201811/bpic9300.jpg");

    }
}
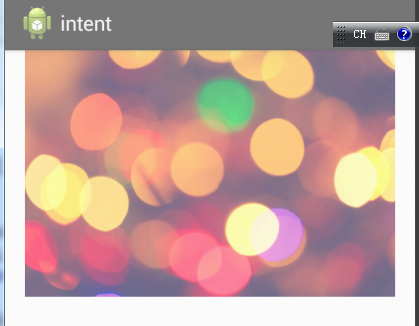
效果:


